Slides and coverslips: preparing a useful fresh specimen
In short
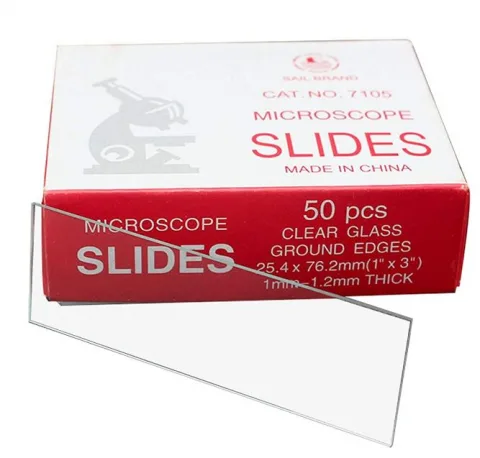
The slide supports the specimen; in many preparation methods a thin coverslip covers it. Cleanliness, suitable thickness and the right amount of liquid often matter more than maximum magnification.

Contents
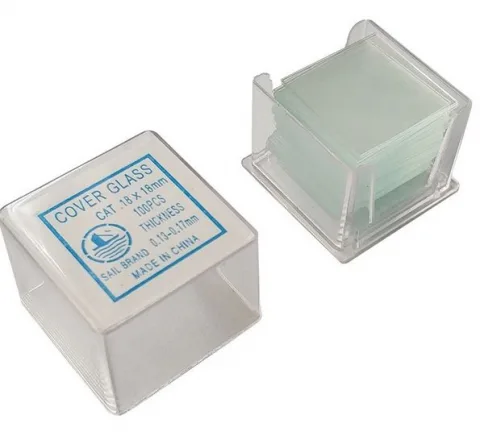
Why use a coverslip?
It helps create a relatively even observation layer and reduce evaporation. Required size and thickness depend on preparation and optics; demanding objectives may require a specific thickness.
A simple plant preparation
As instructed in class, place suitable safe material in a thin layer on the slide, add the appropriate liquid and, where required, a coverslip. A needle or fine forceps helps position it. Place the cover to minimise bubbles. Details and stains belong to the experimental instructions.
Use prescribed plant samples for introductory work. Unscreened human samples or uncontrolled microbial cultures do not belong in improvised home microscopy.
Common image problems
Thick specimens overlap; bubbles produce circular borders; dirt and fingerprints can resemble structures; excess liquid permits movement while too little dries quickly; starting at high magnification makes finding the subject difficult.
A systematic approach
Locate the area at low magnification, set illumination and focus as taught, then increase magnification. If several viewers see the same problem, check the specimen before changing settings indiscriminately.
Read about optical choices and sharps. Browse laboratory supplies.
Questions
- Should I press the coverslip with a finger?
- Not casually. It can break or damage the sample. Follow the method.
- Where does broken glass go?
- In the designated sharps or glass container, with contamination considered, never loose in ordinary waste.
Read next


Sources & further reading
General guidance for study and teaching. For your actual work, your safety briefing, hygiene plan, lab instructions and the product instructions apply. Legal information refers to Germany.